How to Replace QNAP NAS Drives with Larger Ones?
How to Replace QNAP NAS Drives with Larger Ones?
Hello everyone,
Today, a quick article to explain how to increase the storage of a QNAP NAS. The process is quite simple: we will replace the old drives with larger ones. (official article here)
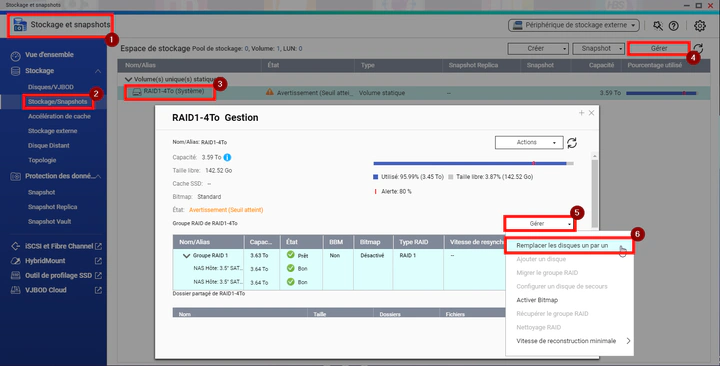
Log in to QTS with your administrator account and navigate to “Storage & Snapshots” > “Storage” > “Storage/Snapshots”.
Select your pool or volume (3), then click on “Manage” (4), then “Manage” (5), and “Replace Disks One by One” (6).
Select the drive you want to replace first, then click on replace:
You can now remove the drive: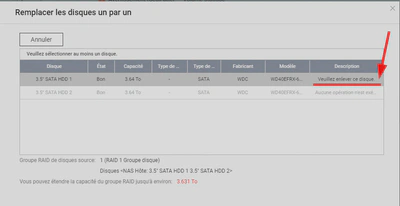
And insert the new one with greater capacity: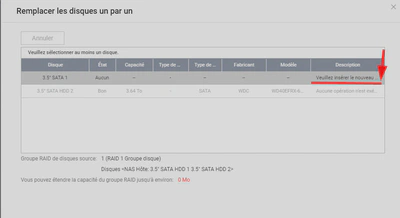
After inserting the new drive, wait for it to reconnect. You will hear the first beeps right after inserting the new drive: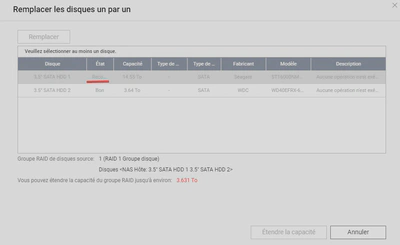
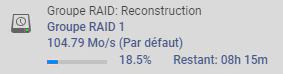
Then it will beep again to indicate that it has started rebuilding the RAID: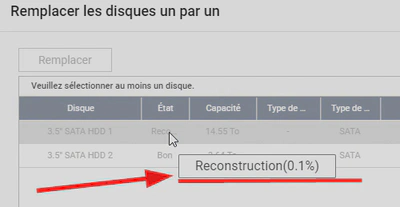
Now, you need to wait for the RAID rebuild to complete before replacing the next one.
Once the RAID rebuild is complete, repeat the steps above to replace the next drive(s).
Once all the drives have been replaced, you need to wait for the RAID to rebuild again.
Now, the RAID is rebuilt!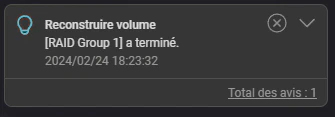
Now, there is only one thing left to do: extend our RAID capacity.
To do this, click on “Expand Capacity” to increase the RAID size.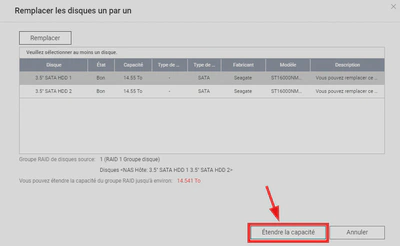
Then click “OK”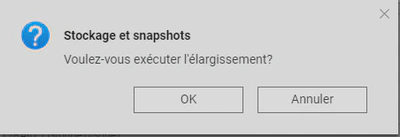
It will start the expansion task, which involves synchronization.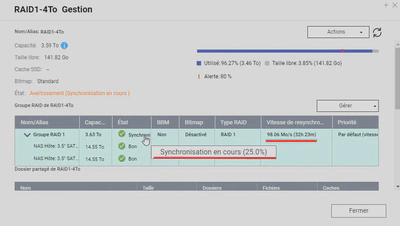
Once this task is completed, everything will be set, and you will have successfully expanded your RAID! Congratulations!
Enjoy! 😎
AlexIn Tech