Self-hosting AFFiNE on Unraid using Docker
Self-hosting AFFiNE on Unraid using Docker
Hello! A few weeks ago, I published a post explaining how to host Monica on Unraid using Docker Compose.
I assume you have already installed the “Docker Compose” plugin on your Unraid server and know how to use it. If not, I recommend checking out my article on installing Monica.
Today, I’ll quickly share how to self-host AFFiNE on Unraid using Docker.
But first, what is AFFiNE?
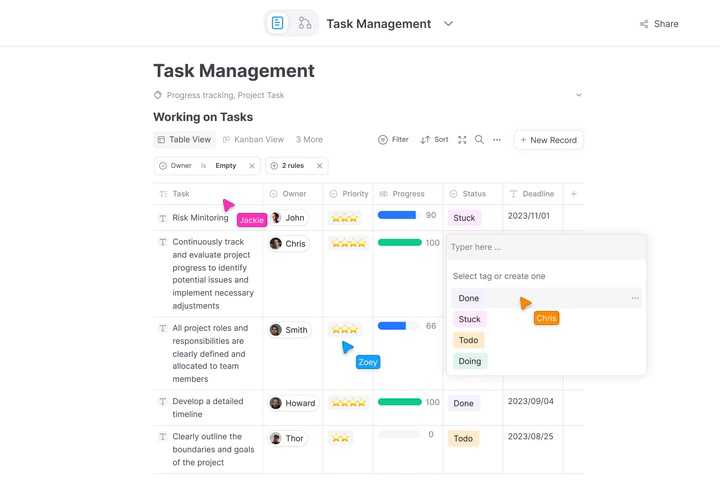
According to their GitHub page, AFFiNE is a hybrid between Notion and Miro, providing an all-in-one open-source platform designed to merge writing, drawing, and planning into a hyper-integrated workspace, focused on privacy and local-first functionality. With its infinite canvas for all types of blocks—rich text, notes, embedded web pages, and more—AFFiNE positions itself as the ultimate solution for creative minds. The platform supports real-time collaboration, allows self-hosting, and anticipates a community of plugins for extensive customization. AFFiNE is the perfect tool for those looking to push the boundaries of productivity and creativity.
⚠️ Disclaimer: This is their claim, not mine. I just gathered and translated the information.

In short, take Notion, take Miro, and merge them. That’s how I describe it.
Installing AFFiNE
Let’s dive in! To install AFFiNE, I made a slight modification to their compose.yaml file available on their GitHub.
Here’s my version with some comments to help you customize it.
🆕 To make it easier to copy/paste/download this code, I’ve created a dedicated repository for my blog resources on GitHub. Here’s the link to the docker-compose.yml file for this article:
services:
  affine:
    image: ghcr.io/toeverything/affine-graphql:stable
    container_name: affine_selfhosted
    command:
      ['sh', '-c', 'node ./scripts/self-host-predeploy && node ./dist/index.js']
    ports:
    # CHANGE YOUR PORTS HERE IF NEEDED PORT:PORT_INSIDE_CONTAINER
      - '3010:3010'
      - '5555:5555'
    depends_on:
      redis:
        condition: service_healthy
      postgres:
        condition: service_healthy
    volumes:
      # CHANGE YOUR PATH HERE FOR the custom configuration
      - /mnt/user/appdata/affine-app:/root/.affine/config
      # CHANGE YOUR PATH HERE FOR blob storage
      - /mnt/user/appdata/affine-app:/root/.affine/storage
    logging:
      driver: 'json-file'
      options:
        max-size: '1000m'
    restart: unless-stopped
    environment:
      - NODE_OPTIONS="--import=./scripts/register.js"
      - AFFINE_CONFIG_PATH=/root/.affine/config
      - REDIS_SERVER_HOST=redis
      # REPLACE MY_DB_PWD_TOP_SECRET BY YOUR PWD
      - DATABASE_URL=postgres://affine:MY_DB_PWD_TOP_SECRET@postgres:5432/affine
      - NODE_ENV=production
      # REPLACE YOUR_EMAIL BY YOUR EMAIL
      - AFFINE_ADMIN_EMAIL=YOUR_EMAIL
      # REPLACE YOUR_PWD BY YOUR PWD
      - AFFINE_ADMIN_PASSWORD=YOUR_PWD
  redis:
    image: redis
    container_name: affine_redis
    restart: unless-stopped
    volumes:
    # CHANGE YOUR PATH HERE
      - /mnt/user/appdata/affine-redis:/data
    healthcheck:
      test: ['CMD', 'redis-cli', '--raw', 'incr', 'ping']
      interval: 10s
      timeout: 5s
      retries: 5
  postgres:
    image: postgres
    container_name: affine_postgres
    restart: unless-stopped
    volumes:
    # CHANGE YOUR PATH HERE
      - /mnt/user/appdata/affine-db:/var/lib/postgresql/data
    healthcheck:
      test: ['CMD-SHELL', 'pg_isready -U affine']
      interval: 10s
      timeout: 5s
      retries: 5
    environment:
      POSTGRES_USER: affine
      # REPLACE MY_DB_PWD_TOP_SECRET BY YOUR PWD
      POSTGRES_PASSWORD: MY_DB_PWD_TOP_SECRET
      POSTGRES_DB: affine
      PGDATA: /var/lib/postgresql/data/pgdata
Of course, you can make other changes if you like, such as modifying the PostgreSQL username or similar settings.
For installation, it’s straightforward: Unraid > Docker > New Stack > Edit Stack > Add the contents of your compose.yaml file > Done! Run Compose Up, and it works!
Configuration in the App
As mentioned in the official documentation, don’t forget to log in with your credentials and sync your workspace with the “cloud”. By “cloud,” they mean your own server since this is self-hosted.
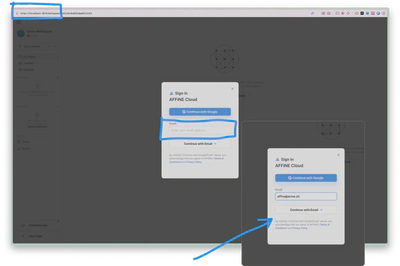
These are the credentials you specified in the compose.yaml file.
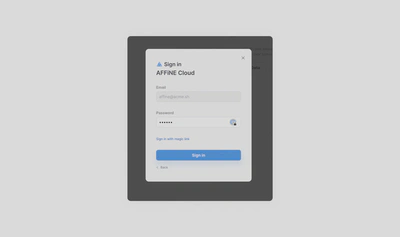
Once logged in, just sync the workspace with “the cloud” (which is actually your own server).
And that’s it! Enjoy! 😎
AlexIn Tech